
From Patchy to Perfect: Preventing 5 Sod Installation Missteps
From Patchy to Perfect: Preventing 5 Sod Installation Missteps
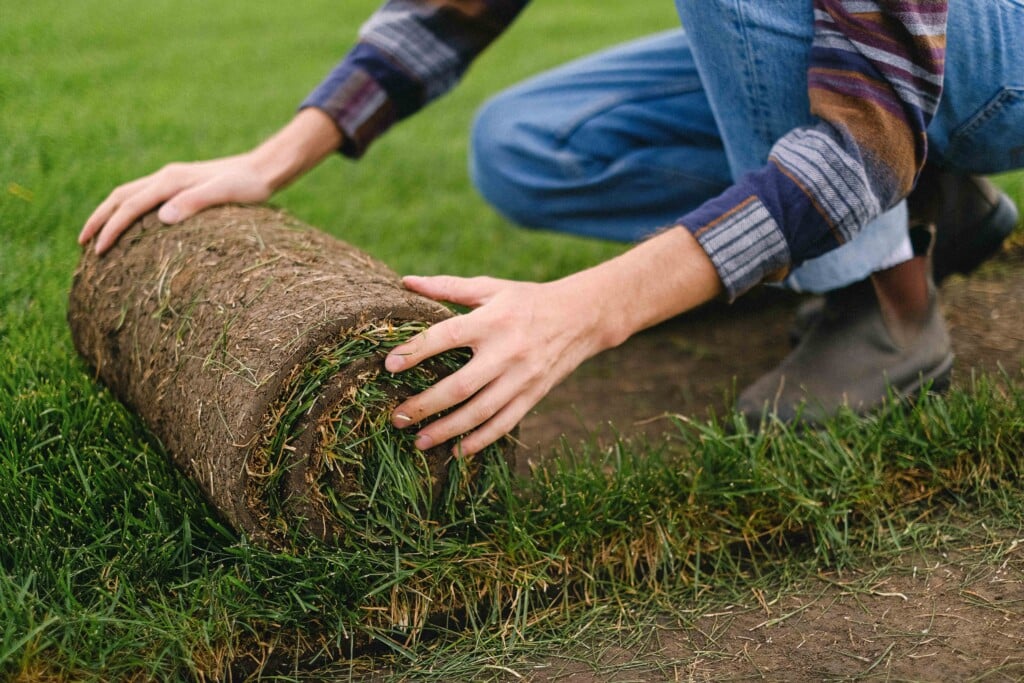
Introduction
Importance of Proper Sod Installation
When it comes to establishing a vibrant, lush lawn, proper sod installation is crucial. A well-installed sod not only instantly enhances the beauty of your landscape but also promotes healthy grass growth, preventing issues like erosion and weed invasion. For those who value their outdoor spaces, nothing compares to the satisfaction of lounging on a thick carpet of green grass.
From my own experience, I can attest that taking the time to lay sod correctly is an investment. The first time I installed sod on my lawn, I thought I could skip some steps. My excitement for a perfect yard led to a quick but hasty installation, resulting in patches of dying grass just weeks later.
Overview of Common Missteps
It’s easy to overlook certain aspects of sod installation, especially if you’re eager to see results. Here are some frequent pitfalls to avoid:
- Skipping Soil Preparation: Ignoring soil tests and amendments can lead to weak root systems.
- Incorrect Sizing: Laying sod that’s improperly sized for the area can create gaps and unevenness.
- Inadequate Watering: Not watering immediately after installation can jeopardize sod health.
- Neglecting Timing: Installing sod in extreme temperatures—either too hot or too cold—can hinder growth.
Being aware of these missteps can save you time, effort, and ultimately, money. Let’s dive deeper into selecting the right sod to ensure your lawn looks its absolute best.
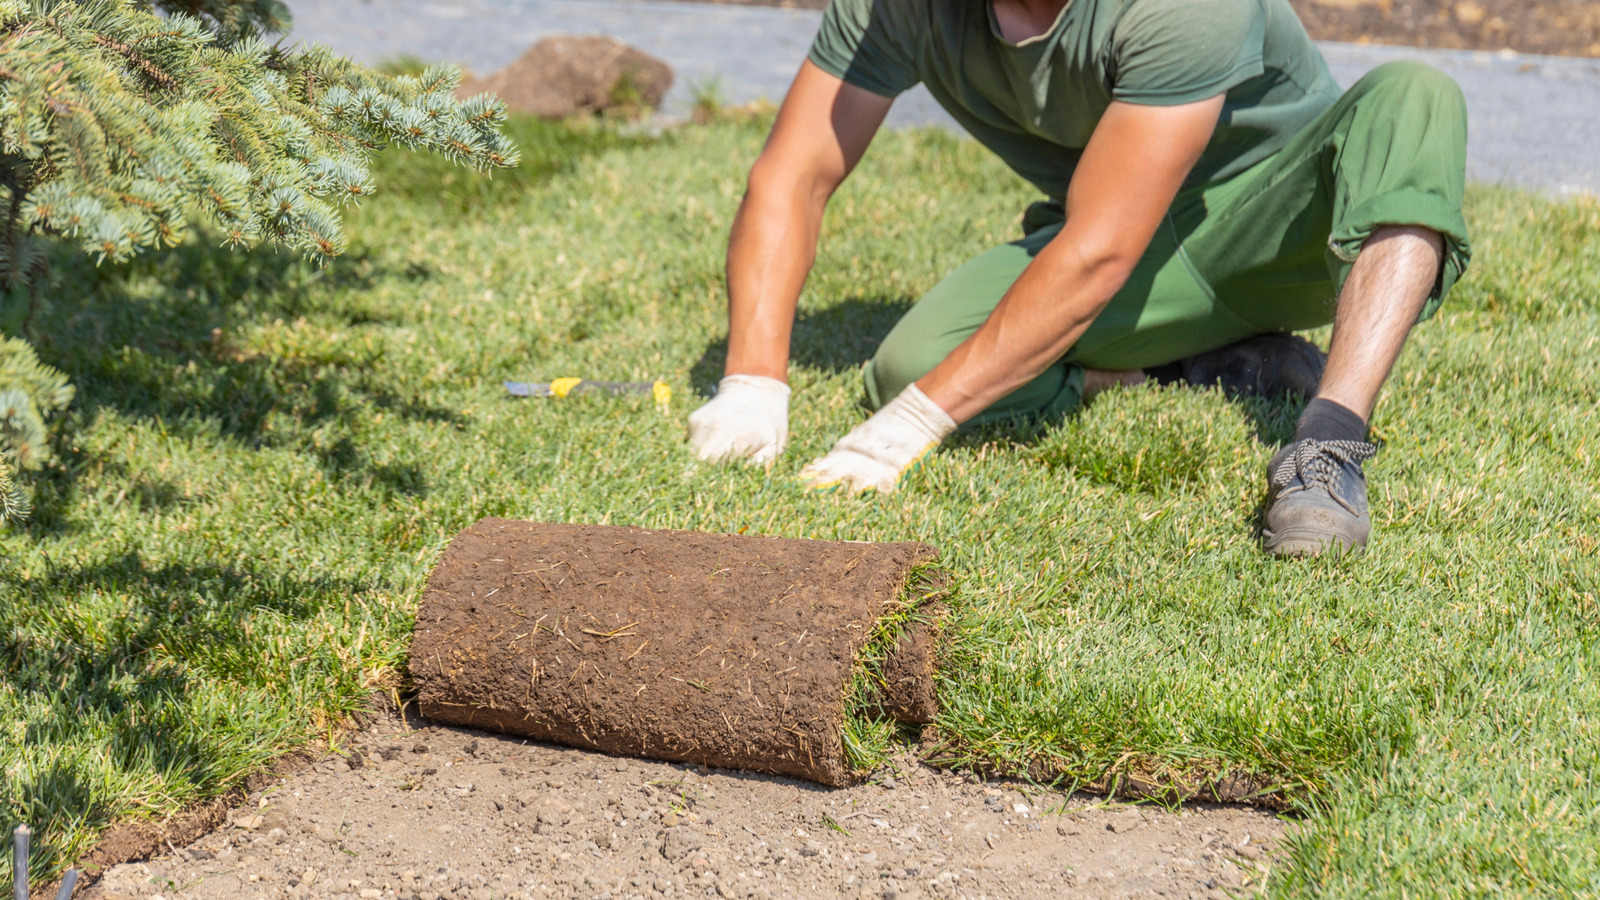
Selecting the Right Sod
Understanding Different Types of Sod
Before you can transform your outdoor space, you need to understand the various types of sod available. Each type has unique traits catered to specific climates and soil types. Here are a few common varieties:
- Bermudagrass: A popular choice for sunny areas, it’s drought-resistant and wears well under heavy foot traffic.
- Tall Fescue: Ideal for transitional zones, this grass has a deep root system, making it heat and drought tolerant.
- Kentucky Bluegrass: Praised for its lush appearance, it thrives in cooler climates but can struggle in extreme heat.
Understanding these types will help you choose the right one for your specific location.
Factors to Consider When Choosing
Selecting the right sod goes beyond aesthetics – it’s about ensuring the grass flourishes. Here are some key factors you should consider:
- Climate: Choose a variety well-suited to your region’s temperature and rainfall patterns.
- Sunlight Exposure: Assess how much sun your lawn receives, as some types require full sun while others tolerate shade.
- Soil Quality: Test your soil to determine pH levels and nutrient content; this can influence grass health.
- Maintenance Level: Consider your willingness to mow, water, and fertilize; some varieties require more care than others.
In my experience, taking the time to factor these elements into your decision can pay off significantly. My choice of tall fescue not only blended beautifully with my property but also minimized my water usage during hot months. By planning carefully, you can set your lawn up for success right from the start!
Soil Preparation
Importance of Soil Testing
Once you’ve selected the suitable sod for your lawn, the next step is soil preparation. It might seem like a tedious task, but the importance of soil testing cannot be overstated. Testing your soil allows you to understand its nutrient levels, pH, and texture, which directly influences your sod’s health.
When I first started my gardening journey, I was eager but naive. I planted sod without testing my soil, only to realize months later that it was too acidic, hindering the grass’ growth. Conducting a proper soil test beforehand can save you from experiencing similar frustrations.
Key reasons soil testing is vital include:
- Nutrient Management: Identifies deficiencies or excess nutrients that can impact growth.
- pH Balance: Helps adjust soil pH to suitable levels for your chosen sod type.
- Disease Prevention: Detects soil problems before they affect your lawn.
Steps for Proper Soil Preparation
Now that you understand the importance of testing, here’s how to effectively prepare your soil:
- Conduct a Soil Test: Use a home testing kit or send a sample to a local extension office.
- Amend the Soil: Based on test results, add amendments like lime to increase pH or sulfur to decrease it.
- Till the Soil: Break up any compacted soil to improve aeration and drainage.
- Level the Area: Rake your soil to create an even surface, ensuring good sod contact with the ground.
- Clear Debris: Remove rocks, weeds, and old grass to prevent competition with new sod.
By taking these steps, you set a solid foundation for your sod, enhancing your chances of a thriving lawn. Remember, the effort you put into soil preparation will pay off in lush greenery!
Installation Techniques
Correct Installation Process
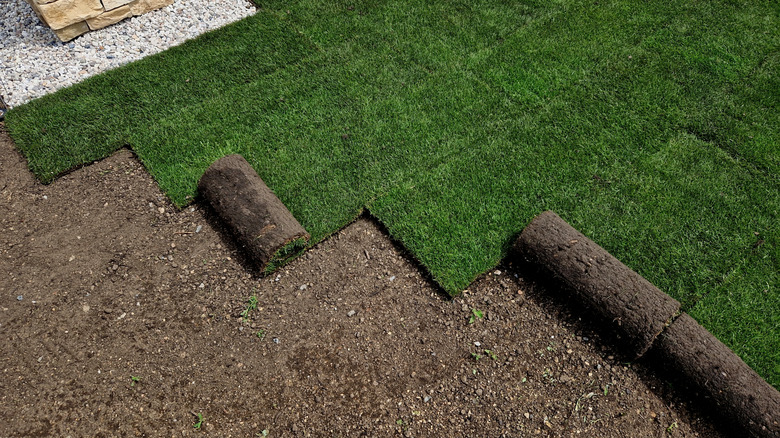
With your soil prepped and ready, it’s time to roll out those sod pieces and start transforming your lawn! The correct installation process is pivotal to ensure your new sod thrives. Here’s a step-by-step guide to help you get it right:
- Start Along a Straight Edge: Begin laying sod along a sidewalk, patio, or other straight edge to maintain alignment.
- Stagger the Joints: Lay each row like bricks, staggering the joints to create stability and prevent gaps. This helps with water retention and nutrient absorption.
- Press Down Edges: Ensure that the edges of the sod are tightly pressed together to reduce gaps that can dry out roots.
- Trim as Necessary: Use a sharp knife to trim sod pieces for a perfect fit around curves or obstacles.
During my first sod installation, I learned that taking my time was essential; rushing led to uneven patches and filling gaps with dirt later on.
Watering and Maintenance Tips
After installation, the right watering routine is critical for establishing healthy roots. Here are some watering and maintenance tips:
- Initial Watering: Water your newly laid sod immediately after installation, soaking thoroughly to a depth of at least 6 inches.
- Daily Watering Schedule: For the first two weeks, aim to water daily for about 15-20 minutes, keeping the soil consistently moist.
- Reduce Water Frequency: After two weeks, gradually reduce watering to twice a week, allowing the roots to establish deep in the soil.
- Mow at the Right Time: Don’t mow your new sod until it’s grown at least 3 inches in height and has established roots.
My lawn turned into a lush oasis after following these watering guidelines and giving it the care it deserved. With proper installation and maintenance, your sod can become the envy of the neighborhood!
Dealing with Potential Issues
Addressing Uneven Sod
Even with careful planning and installation, you might find yourself facing the common issue of uneven sod. Uneven patches can detract from the beauty of your lawn and may lead to poor water distribution. Here’s how to address this problem effectively:
- Identify Low Spots: Regularly check your lawn for areas that collect water or feel spongy.
- Topdress the Area: Apply a mixture of compost or topsoil to the affected areas, filling in the low spots. This will help to level the ground while providing nutrients.
- Re-lay Sod if Necessary: If sections have settled too low, consider removing that sod, leveling the base, and replacing it. Ensure the new sod edges are tightly integrated with the existing turf.
In my experience, finding an uneven patch shortly after installation was frustrating, but fixing it turned my lawn around beautifully!
Handling Pest and Weed Problems
Pests and weeds can threaten the health of your sod if not managed properly. Here’s how to tackle these nuisances:
- Regular Inspections: Make it a habit to walk your lawn regularly, inspecting for signs of pests like grubs or chinch bugs, as well as emerging weeds.
- Natural Remedies: For small infestations, consider using natural pest repellents such as neem oil or diatomaceous earth.
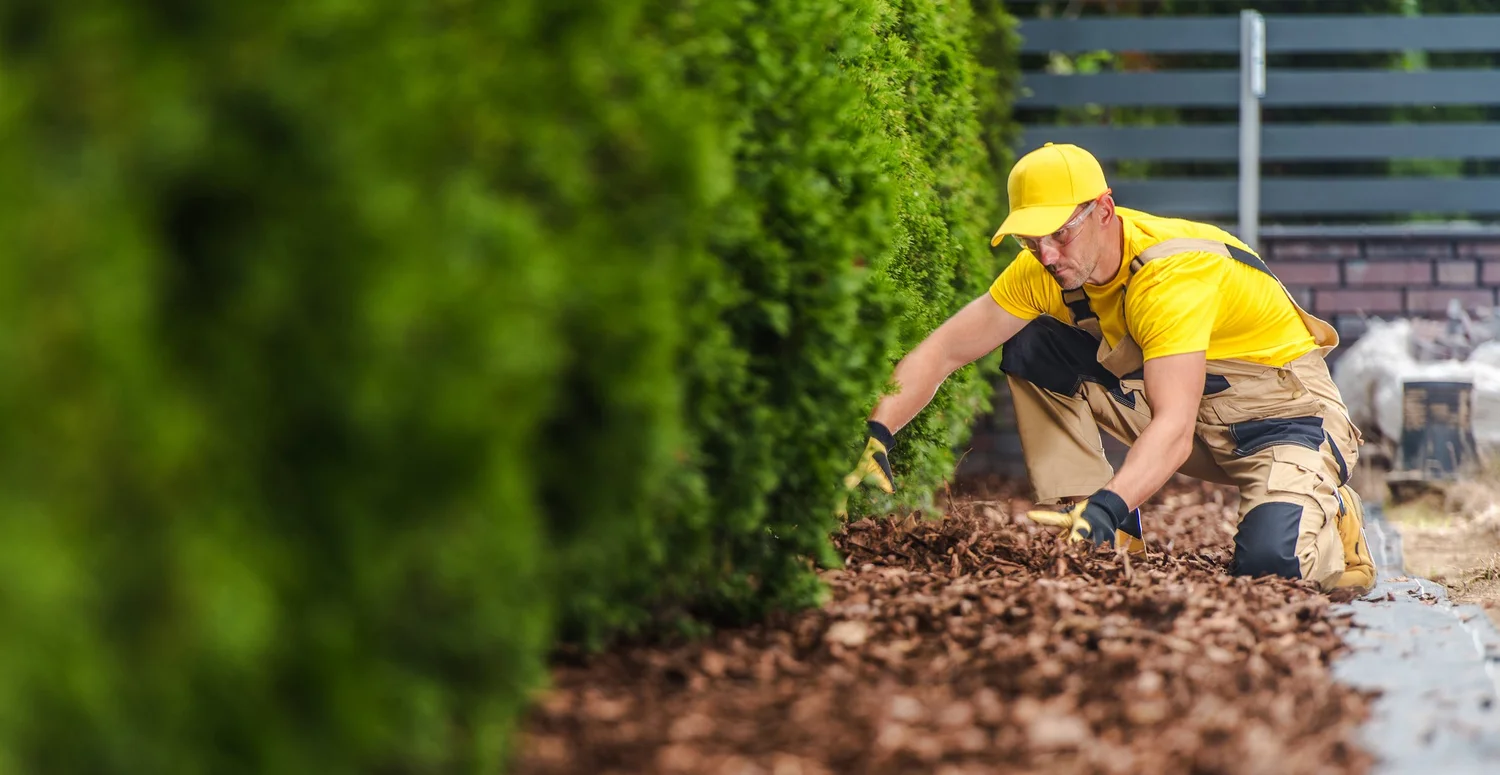
- Weed Control: Apply mulch in landscaped areas to suppress weeds and consider pre-emergent herbicides for stubborn types.
- Maintain Healthy Grass: The best defense is a thick, healthy lawn. Regular watering and appropriate fertilization will naturally outcompete many weeds.
When I noticed some stubborn weeds invading my lawn, I opted for a natural approach, which not only revived my grass but also kept the ecosystem balanced. Remember, staying vigilant and proactive can help keep your sod lush and vibrant throughout the seasons!

Enhance Your Curb Appeal: Elevate Your Property's First Impression
The exterior of your property is the first thing people notice, and it’s crucial to create a memorable impression. Whether you want to rejuvenate your landscape, tidy up after winter, or incorporate new design features, a well-maintained exterior can greatly improve your property's curb appeal. From thorough cleanups and thoughtful planting to upgraded irrigation systems, investing in your outdoor spaces can make a significant impact.
The Destiny Landscape team is ready to work with you to find the best solutions for your specific landscaping needs.


